 Just a Simple Wrench
by Ann & Jake Snyder
The Genius Shop
We always look forward to the University Motors LTD technical seminar series, and we have attended various editions of these for over ten years, first at the Grand Rapids, Michigan address, and later in Ada, a suburb of Grand Rapids. Mr. John H. Twist runs these seminars, and this year, an associate of his, Mr. Carl Heideman offered a two-day session specifically on MGB body repair.
Mr. Heideman’s shop, Eclectic Motorworks, is in Holland, Michigan. One of the recommended accommodations, Haworth Center in downtown Holland, was less than two miles away. The downtown area has been rehabilitated with many upscale shops and restaurants. Of particular note is the pub operated by the Holland Brewing Company and the Mad Hatter Ale dispensed there, just a few steps from the hotel. As only one of us could get away from work to attend the seminar, he dutifully ordered a refill to toast his absent companion.
Mr. Heidemen’s basic guide for rust repair is to replace only those parts that are bad. In the case of an outer rocker panel, only one end under the rear dog leg was replaced, and the rest of the rocker panel was judged to be sound. The “good” part of an original panel will have no corrosion on either side, and prudent replacement means to go an extra inch or so into the sound area to make the repair. Almost all of Mr. Heideman’s welds to the exterior panels are butt welds, resulting in the fusion of the steel to yield a repair that is one layer thick. It was learning this butt welding technique that drew the class to Eclectic Motorworks.
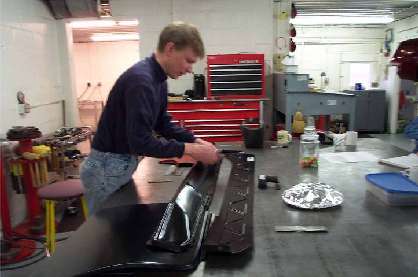
Mr. Heideman explains the components of the sill assembly.
Note the jar of peanut M&Ms (supplied by Mr. Heideman), the foil-covered plate of chocolate chip cookies (baked by Mrs. Heideman) and the rectangular container of brownies (also baked by Mrs. Heideman).
Mr. Heideman was working on a roadster, and he very specifically noted that he does not use a bar welded across the door opening when replacing a sill assembly. This is because he adjusts the door gap by making small changes to where the car is jacked. Once he is satisfied that the door fits, the sill is welded into place.
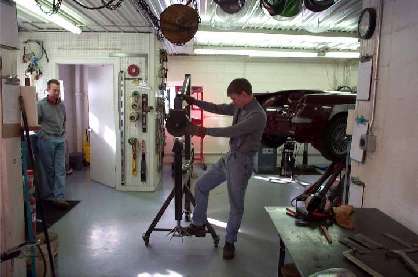
Mr. Heideman demonstrating the English Wheel.
It was expected that everyone would use MIG welders at home, and several of the students brought their welders in to have them checked over. Some of the problems included misadjusted feed rolls, rusting MIG wire, and wrong polarity. Of course, the final settings for heat and wire speed depend on the skill of the welder and must be learned starting from the chart that is inside the cover of most MIG welders. The general recommendation is to use 0.023 wire and gas shielding. Most of the shielding gas was 75% argon-25% carbon dioxide. Miller welders far outnumbered all others, and the class had mostly 115 VAC models. Everyone had their own electronic helmet, which helped during the practice sessions when any of three work stations could suddenly light up at any time.
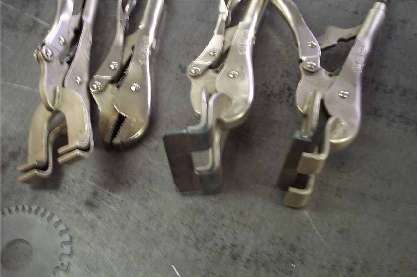
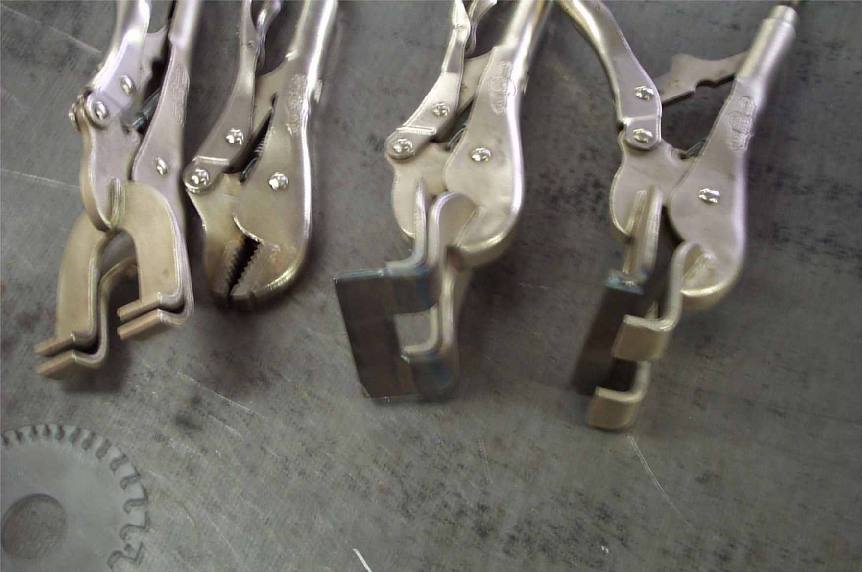
Specially modified Vise-Grip pliers to hold, clamp or align just about anything are an Eclectic Motorworks specialty.
Lecture sessions were interspersed with practice welding. We were taken in sequence through:
Welding on a straight line to establish the importance of vision and two-hand gun control
Lap-welding, as an exercise to put the weld on the edge of the metal
Plug welding, as is used on some hidden edges on the MGB
Butt welding, as the desired method for most external panel repairs.
Mr. Ted Archer, to whom Mr. Heideman refers as more talented than himself, guided students, with great patience and excellent examples, though some of the welding exercises.
Plug welding, the home shop’s alternative to spot welding, is also called rosette welding because one method of filling the hole is to spiral inward from an edge or outward from the center, creating a “rosette”. Mr. Heidemen noted that lapped steel layers were used by the factory and are necessary for part of the construction of the unibody, and that plug welds are a much better choice than using an inexpensive spot welder that might result in welds that fail at a critical time.
Final fitting of panels is done by cutting the patch panel oversize and trimming as many times as it takes to get the fit almost perfect. A very slight gap is necessary between the sheets to be welded, and great care is exercised to control the width of the gap, as it is affected by the welding process.
|
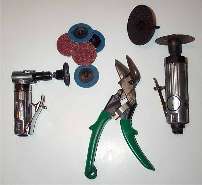
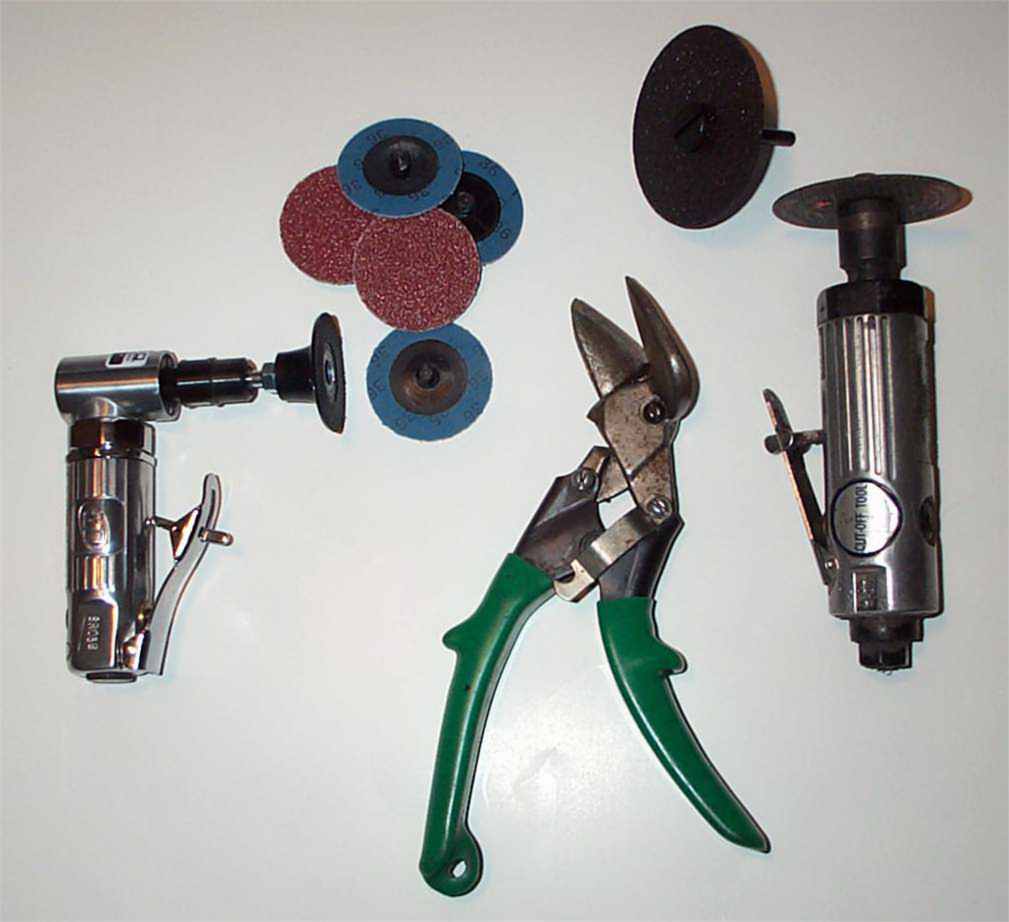
Tools similar to those used by Mr. Heideman to fit and finish butt welds.
|
Seeing the tools that a professional uses is always an important part of the technical series. A cutoff tool with 3 inch abrasive disks 1/32 inch thick (3M 01989) was used for some cutting and most of the rough grinding. And the only thing that needs to be ground on a well-fitted and properly butt-welded seam is the weld itself. This is obvious now, but it was not before attending the seminar. Fine grinding was done with a right-angle die grinder and 36 grit 2 inch lock-type disks. Finish sanding is with a dual-action sander using pressure sensitive disks. The surprising statistic is that one car requires $200 to $500 in abrasives.
The final welding of a dogleg was done with one Vise-Grip and a thin-bladed scraper. And lots of skill.
Much of the information in the class was facts and methods of work that should have been apparent to us years ago, but which we had never put together. That was the genius of the presentation.
|

The scraper is used to align
the panels for butt welding.
|
|