Cut and Weld Tech Day
Glen Ellyn, IL - August 24, 2002
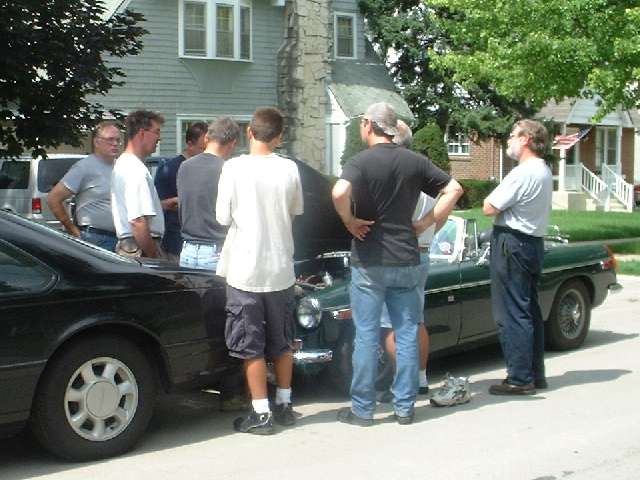
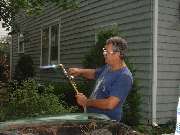
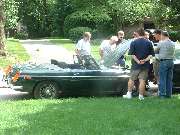
This is gonna be fun. We get to strip this puppy and keep the parts to take home.
And we get to use ALL of the BIG BOY TOOLS in the process.
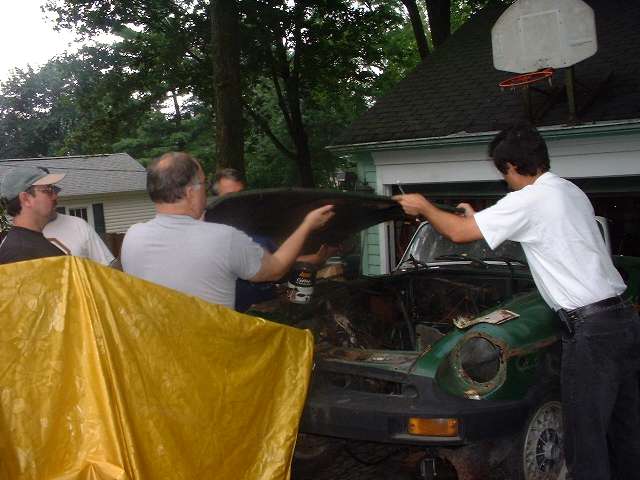
"Hey, not so fast guys! The wheels, boot lid, bonnet, doors and hard top stay here, but you can have the rest".
Click for BIGGER pictures, average 38K.
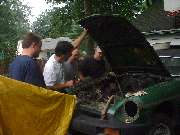
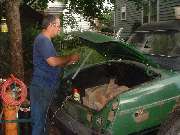
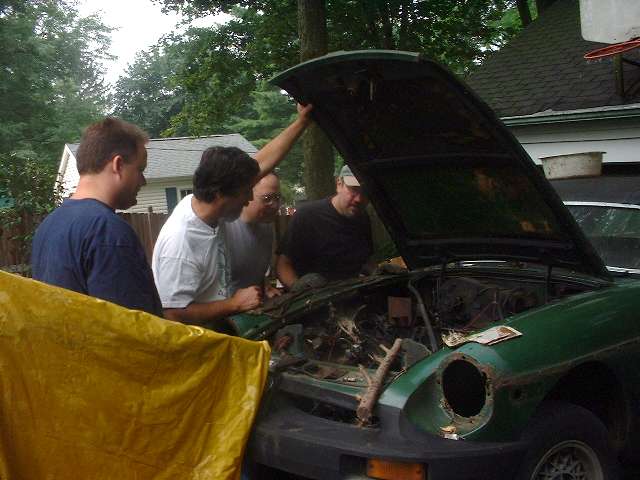
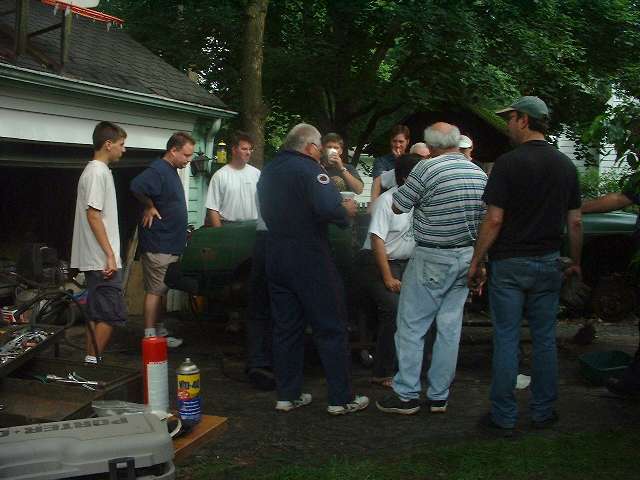
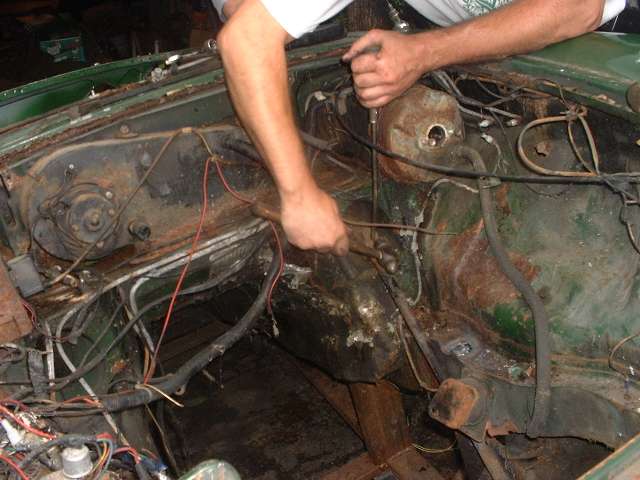
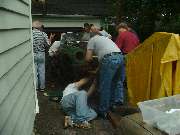
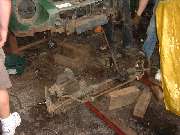
No engine or gearbox, but plenty of other goodies still here. And it doesn't take long to get out the power tools. Enter with the air ratchet, plasma cutter, MIG welder, and that's just the beginning.


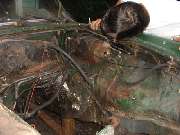
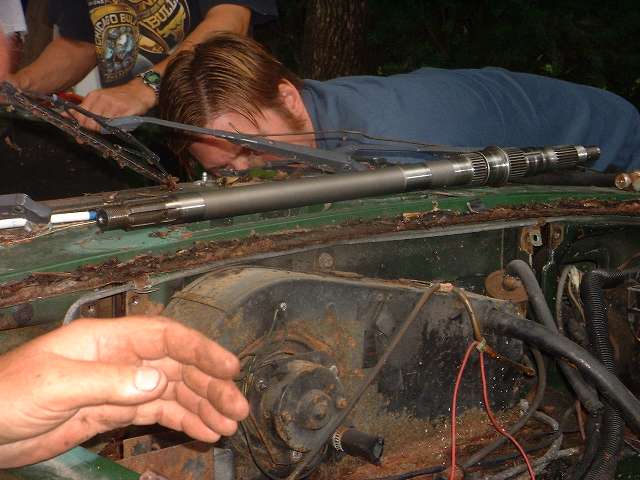
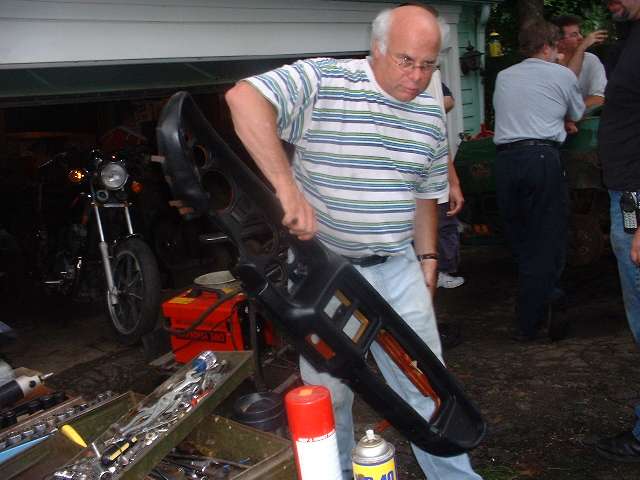
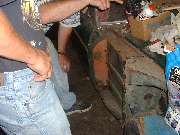
Get this bonnet out of the way. Hey, he said we could have the hinges! And a fuse block, flasher, relay, and heater assembly. Ignore the ragged extra ventilation holes. Nobody wants those. Looks like a good master cylinder, power brake servo and the wiper motor hiding back in there.
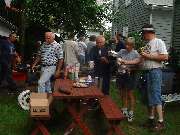
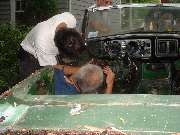
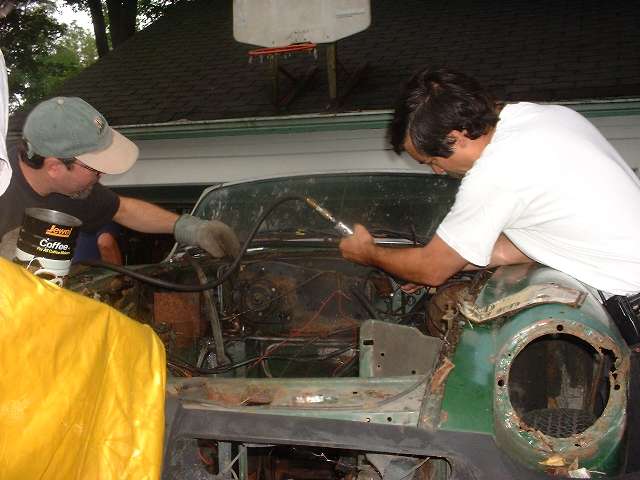
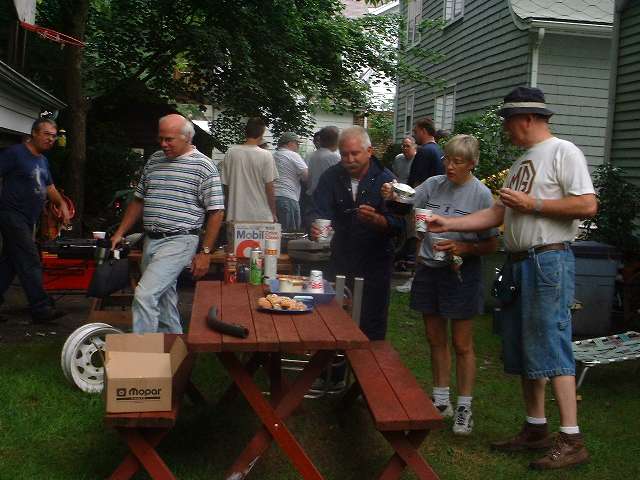
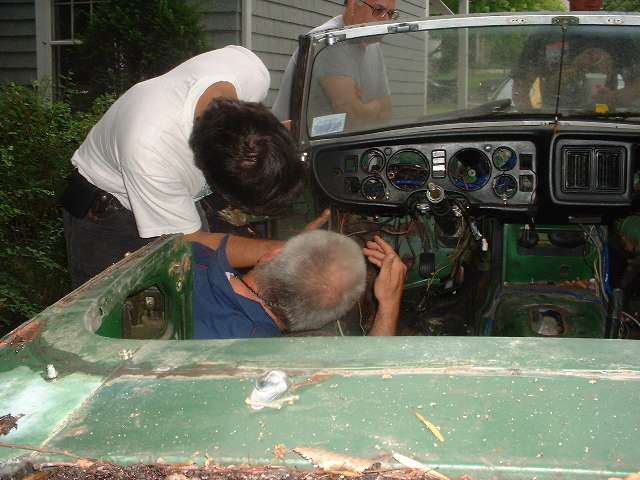
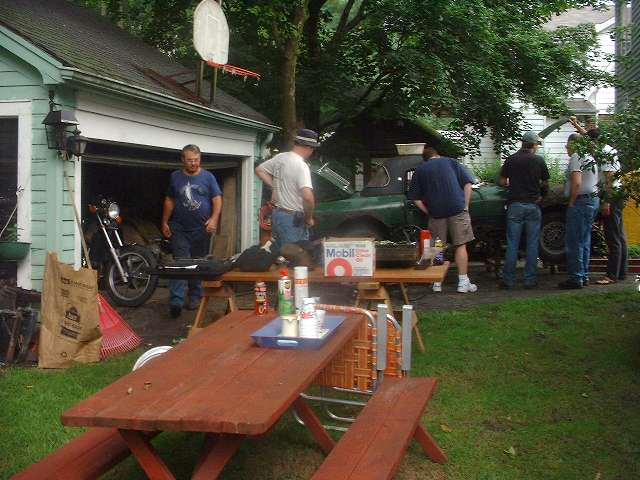
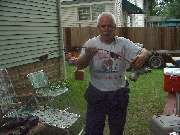
Oh boy, the hostess with the coffee and munchies! Take five guys. You guys can snack, but I want the dash and the windscreen. Good inertia switch hiding up there too.
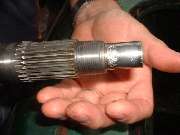
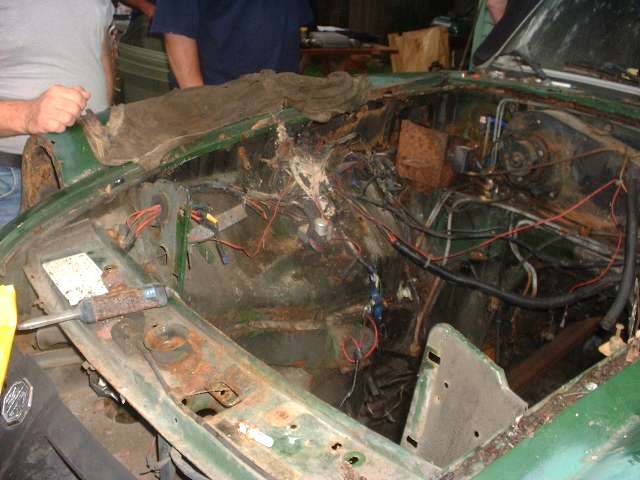
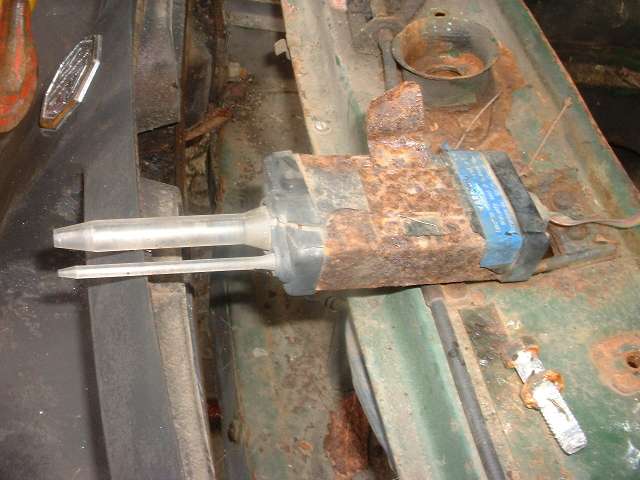
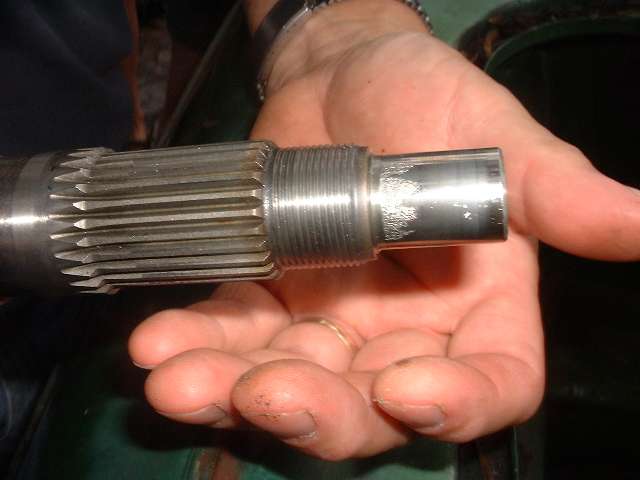
Bonnet lock on a cable with a key, burglar alarm system (what's left of it), and a dealer installed original radar detector. The original owner must have been gadget happy. Hey, who brought the 4-syncro gearbox mainshaft for show and tell? The front end pilot diameter looks to be badly chewed by the needle rollers. That can happen if you run it a long time with a worn spiggot bushing in the tail of the crankshaft so the gearbox input shaft can wobble around.
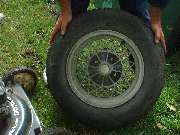
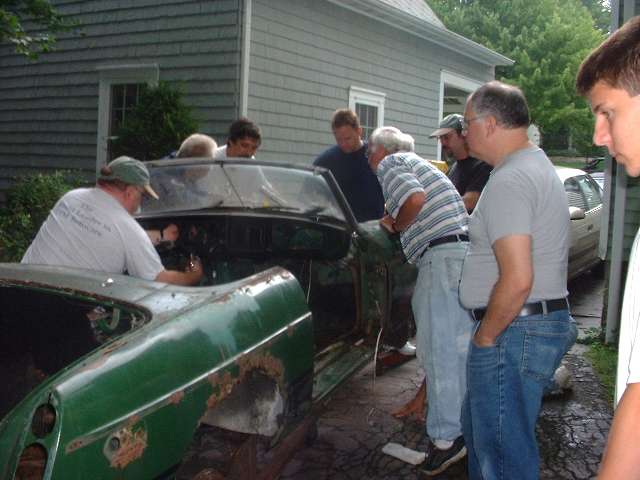
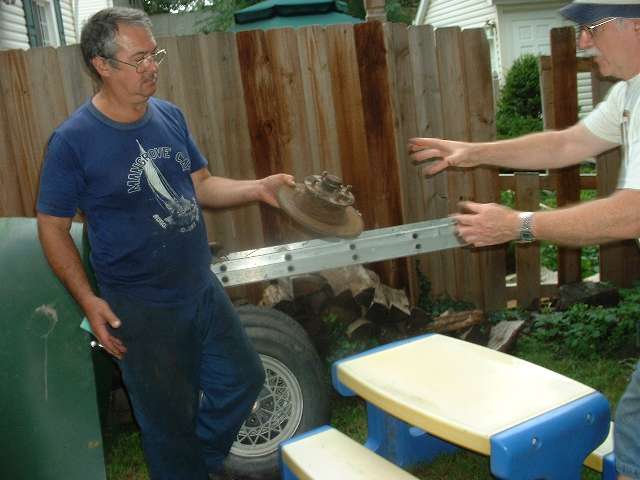
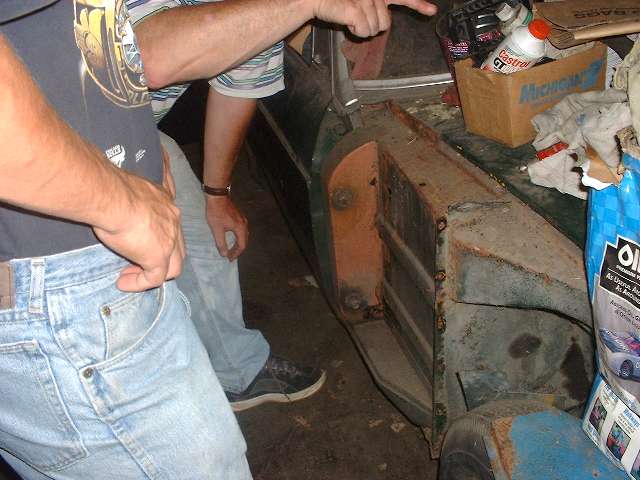
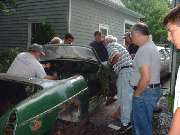
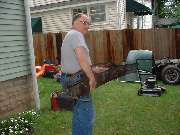
Nice wheels! 14x5-1/2 inch too. No, you can't have them. Good front hub and brake rotor up for grabs though, front suspension parts and a decent rubber bumper if you can get the rusted fasteners out.

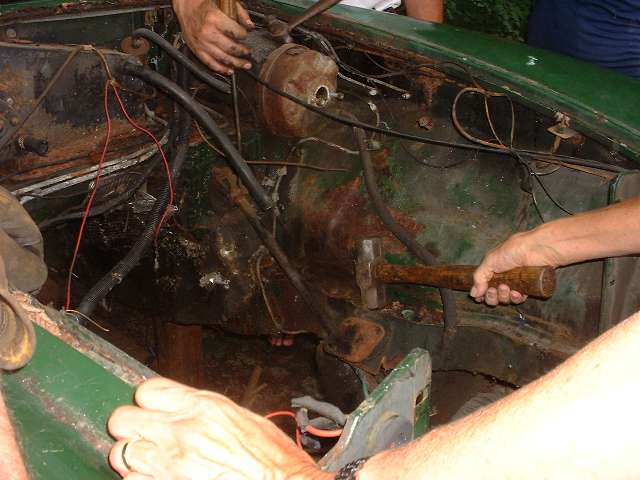
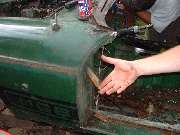
There goes the bumper. That wasn't so hard. Dash panel getting claimed too. Brake servo and front cross member being a little stubborn. How many hammers do we need? Ah, the old guys think they know how to get it apart. Dang, he bent THAT crowbar? Give that man a cigar.

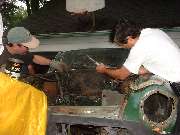
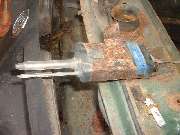
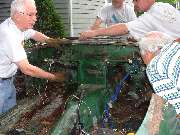
Step aside, boys. Jim Evans thinks it's time to get serious with the Blue Wrench. We just cut the bolts and the thing will fall right off. And it does (after a fashion). David Lieb may be about to get a bit of a hot foot wearing those sandals under there. Then a little more "tact and understanding" with the steering u-joint (bigger hammer), and the deed is done. Take it away.

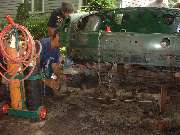
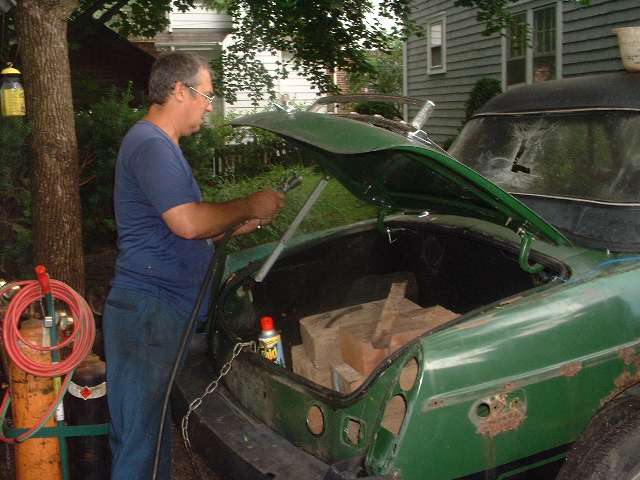
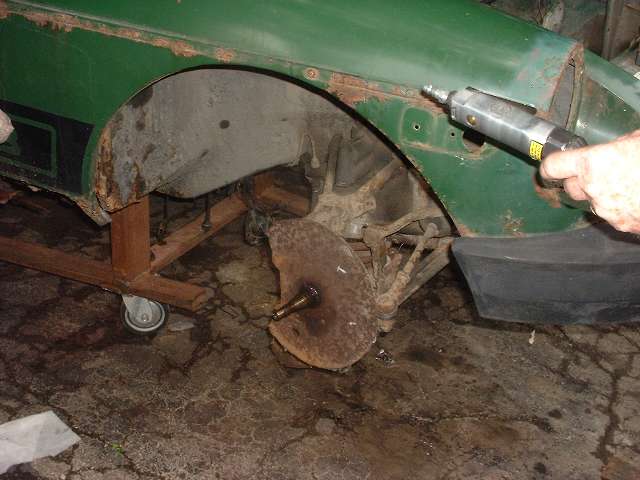
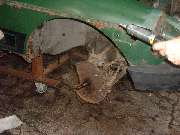
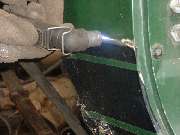
Time for a lesson on mounting and adjustment of door hinges. Check out this other car over here with the fender off, and you can see the big bolts in front where you have to remove the splash panel to adjust the hinges. Then Maynard is after the rear axle. A few more minutes with the Blue Wrench, and that's out the easy way. Something about the way that safety chain is hanging gives a clue about the condition of the boot floor.

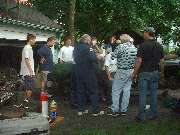
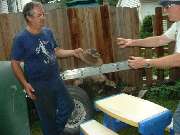
There goes the wiper drive. Gimme that steering column. Still thinking about slicing out part of the tunnel for a repair section. Then it wouldn't be a real tech session if there wasn't a spin-off session on the side. Some of the guys take to the street for a few minutes to discuss carb tuning and accessory parts.

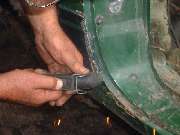
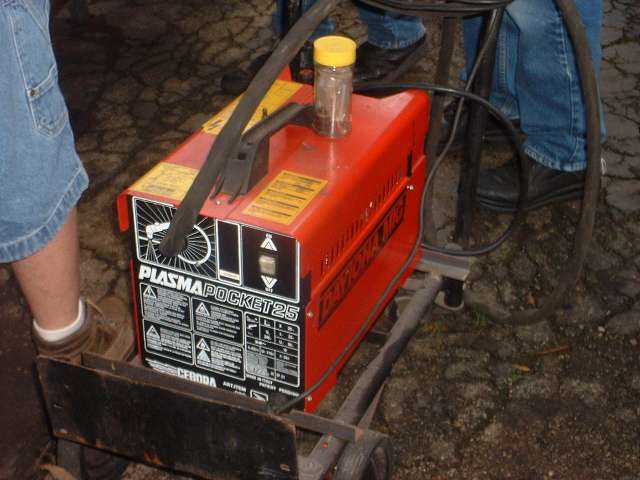
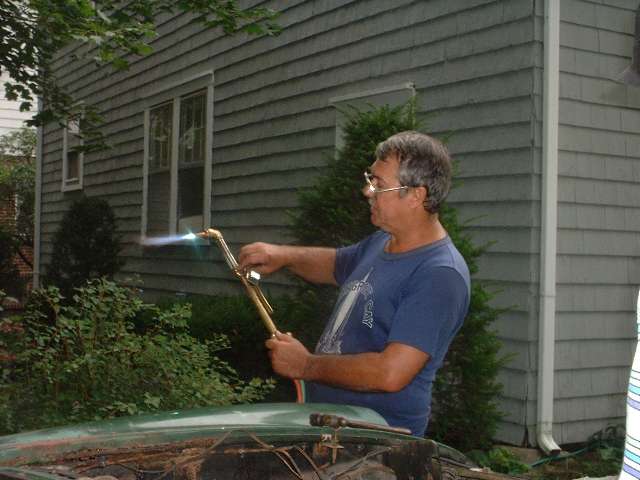
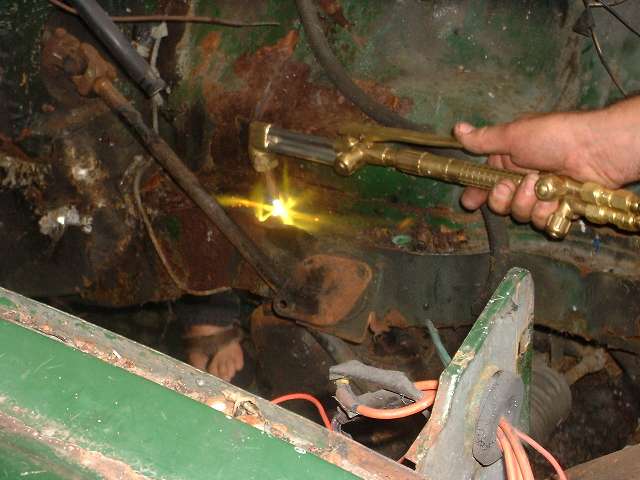
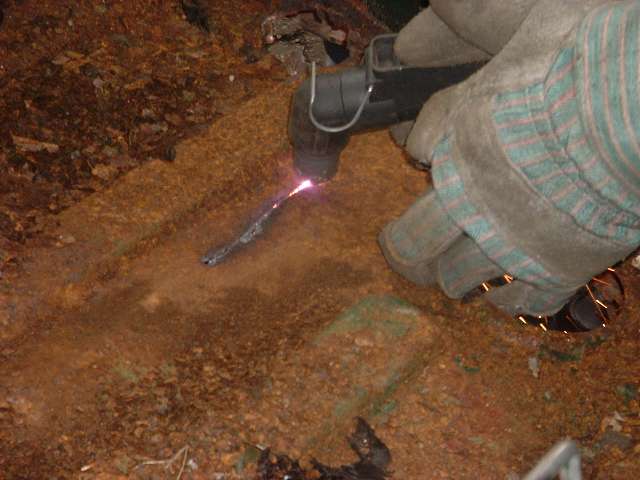
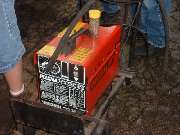
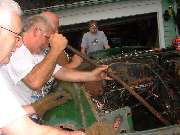
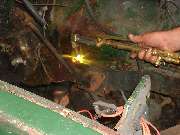
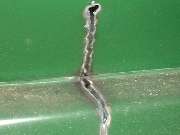
Then back to the slicing and dicing for demonstration and hands-on practice with the plasma cutter. The button on the back of the torch triggers the electrical power and starts the air flow. Took a while to figure out that a little nudge on the spring loaded nozzle triggers the high frequency pulse to ignite the plasma, and then it worked like a charm. It needs about 80 PSI of air pressure, but not a whole lot of flow. Also needs a good electrical ground connection on the workpiece, but otherwise blows right through rust and paint without having to clean the surface. This runs right along at about one inch per second when you get the hang of it, and just a few minutes practice gets you rolling. One word of caution though. Apparently the initial striking of the arc draws a fairly high line current. With the air compressor and the plasma cutter both running on the same 120 volt circuit we managed to blow a couple of fuses.
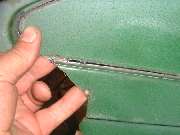
Freehanding a straight line requires a steady hand, but when you have a straight edge to guide the torch it's a snap. Tilt the torch and point it just a little in the direction of travel to blow out a clean kerf. A straight shoulder in the panel used for a guide, and a steady forward motion can produce a very clean cut with a narrow kerf. For most of the cut in the picture on the left you could run your finger along the cut edge and it felt smooth to the touch. And it's true that it doesn't even blister the paint (sometimes if it's done right). It will even cut into a blind 90 degree corner if you slow down just a little.
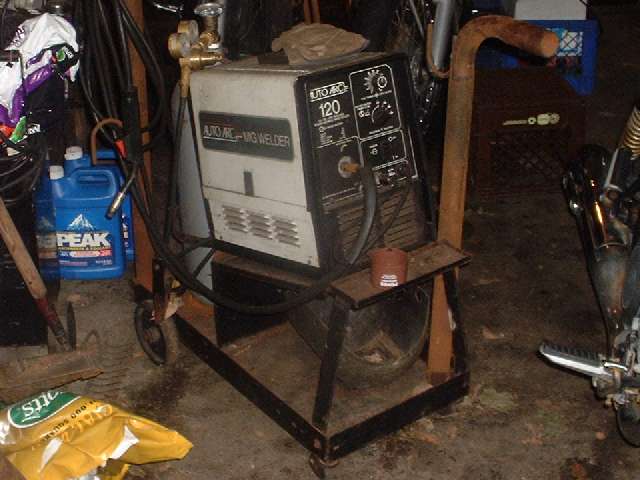
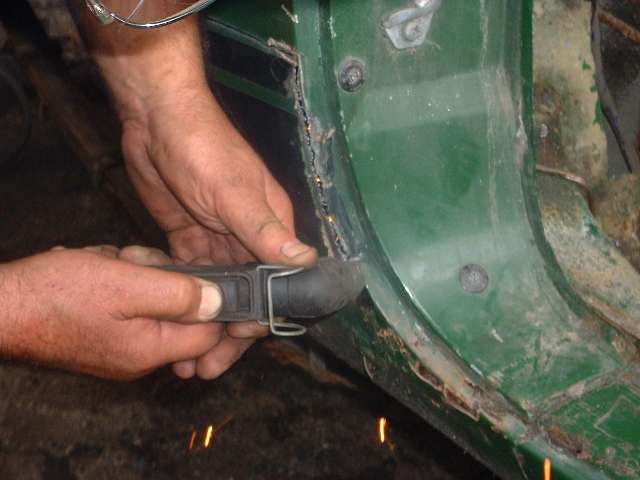
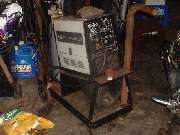
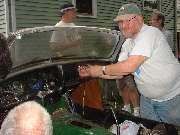
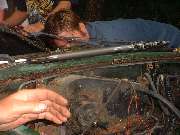
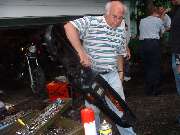
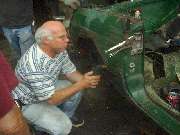
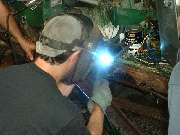
Jim hauled out the BIG sawzall to hack open the sill for a good look at the inside structure (what a rusty mess). We then had a nice long discussion about how to weld in repair panels. We were also passing the MIG welder torch around for a while. Looks like anyone can weld sheet metal with a MIG welder and just a little practice. Oh yeah, the welding mask with the liquid crystal instant automatic dimming lense is the cat's meow.
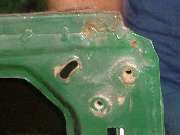
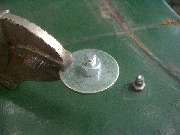

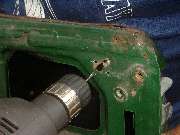
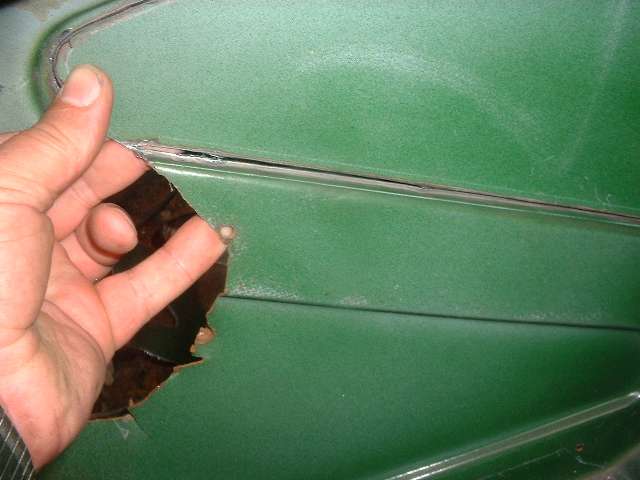
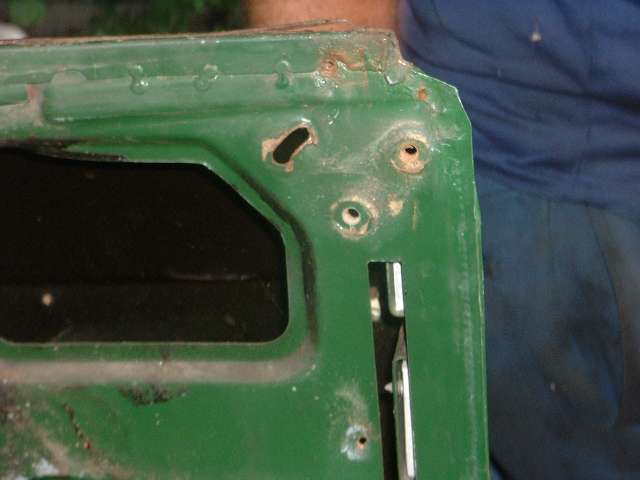
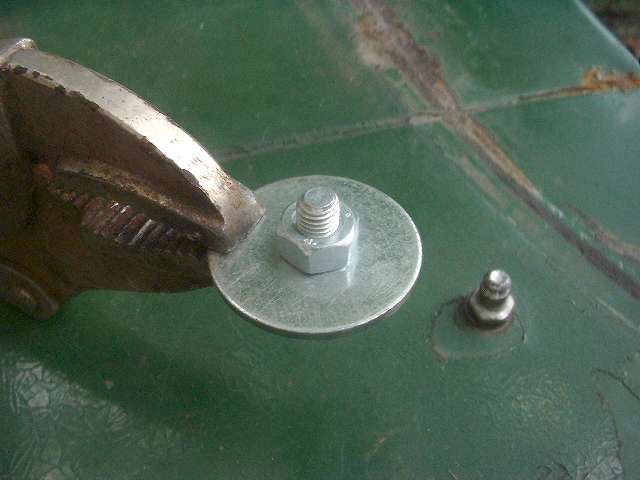
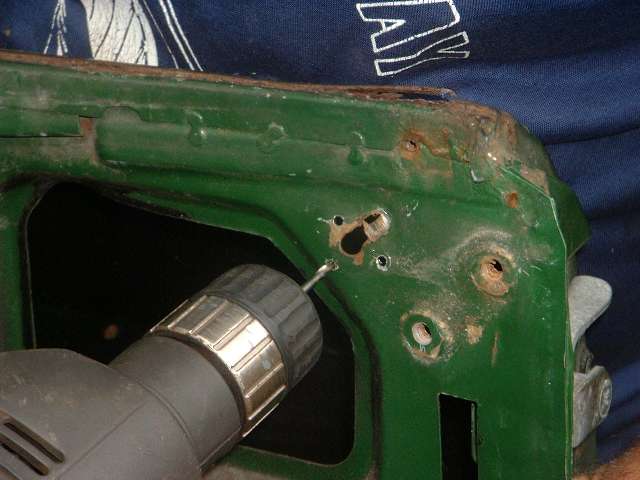
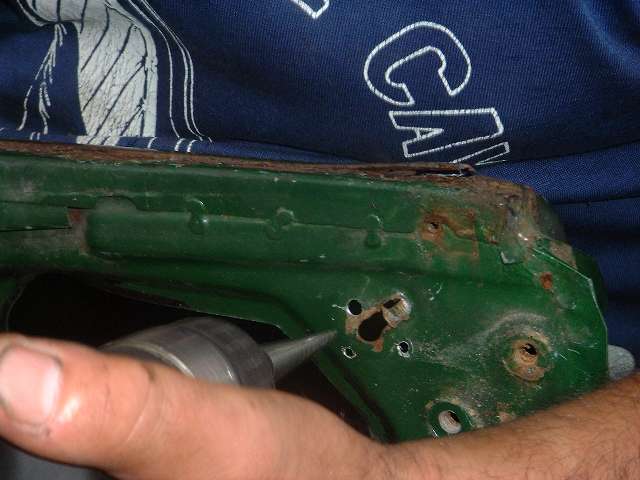
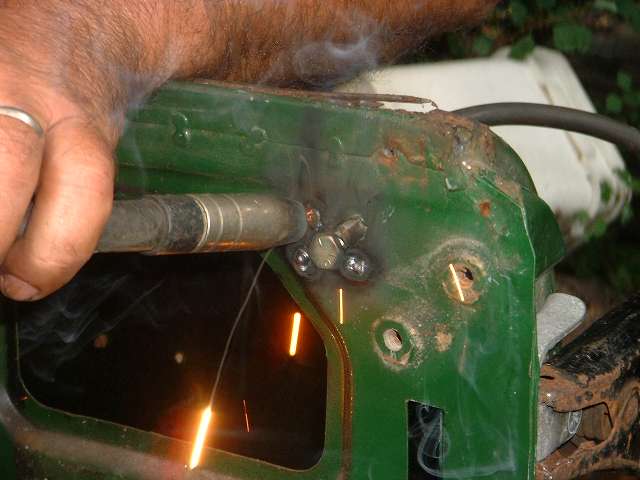
And finally we had a nice demonstration of how to make an easy repair on those ripped out weld nuts for the rag top frame mount in the body. Start with a nut and a bolt with the appropriate thread size screwed into a fender washer. Get a good grip with a clamp to hold the part and to attach the ground cable for the welder. Use the MIG welder to tack weld the nut to the washer, without touching the screw threads of course. Might take a couple of tries to get this right, but the materials are cheap. Then dill about four small holes around the ripped out opening in the body panel.
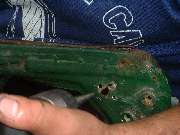
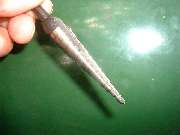
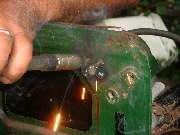
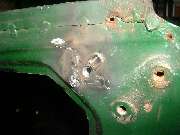
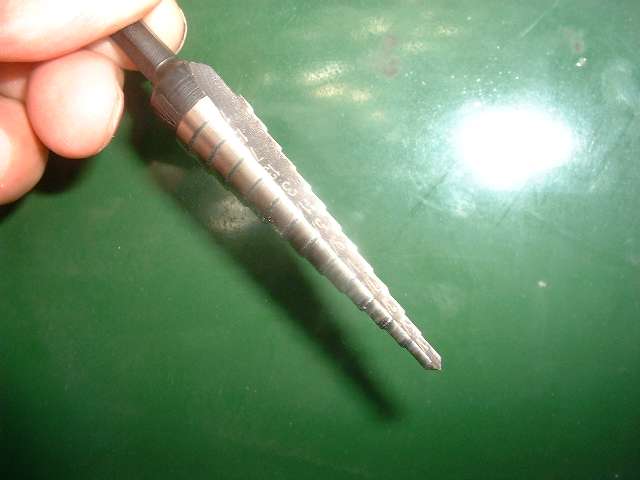
Using a step drill to enlarge the holes a little is another nice trick. Nothing wrong with buying the right tool when it saves time and does a nice job. Use the same bolt to attach the new weld nut and washer inside of the body panel. Then you can use the MIG welder to plug weld the washer to the panel through the small holes. Jim made the whole process look easy, and it only took a few minutes. Remove the bolt and grind the welds smooth and it's ready to paint. Once you install the interior panels no one will ever see it, and it's good as new (but do use a little anti-sieze on the threads next time).
Photos and web page courtesy of Barney Gaylord.
|

©2002 Chicagoland MG Club, All rights reserved.
|