The MGA With An Attitude
LED Tail Lights, Brake Lights & Turn Signals B - ET-247B

|
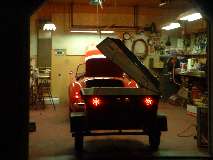 Addendum 2008:
Four years later I have my own answer. Yes I would do it, and no I wouldn't spend $100 for it. In 2008 I bought a pair of LED trailer lights from Harbor Freight for $10 each. They work great as direct replacement for standard trailer lights where you have the space to mount them. Four LEDs in the center have narrow cone projection and appear very bright to the rear but not so much from the side. Six LEDs in a circle around the outside have wide cone projection and can be seen well as much as 60-degrees off to the side. No way to fit them on the MGA, but this use of both narrow and wide angle projection in the same unit has good merit. The day is coming when brighter LEDs or higher density clusters will be available.
|
Addendum August 2009:
Good things come to those who wait? They're here! So far these are not by any means cheap enough for me to buy, but if you have the cash to spare it looks like just the berries.

These may not get much cheaper for a while, as it is a specialty item designed for specific application, not a universal plug-in. This style tail light was used on lots of different models of British cars from the late 40's to mid 60's, but MGA may be half of the total demand today. 100,000 MGA produced 50 years earlier may translate into 10,000 (or less) actually being driven now, and maybe only a few hundred owners would be in the market for this LED unit at the current price.
For more information (and sales) see:
Classic Auto LEDs
Moss Motors USA
Addendum February 26, 2012:
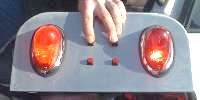
Today I got a live demonstration of these LED tail lights for MGA. Click for larger images.
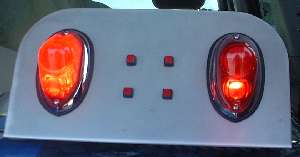
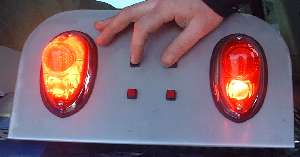
Pictures above are outdoors daylight but in the shade, Tail lights and Brake lights.
The orange appearance is a funny camera effect. They really are red.
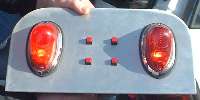
Pictures below are outdoors in sunlight: Off, Tail lights, Brake lights.

|
They are brighter, but perhaps the more important feature is that it lights up the entire surface of the lens rather than a small spot in the center. They are more visible because they appear much larger. They are also well lit from the side view. Assembly instructions are included with the new parts. Drill out two rivets to remove the original bulb holder. The circuit board is sized to sit on top of the rubber gasket and be held in place by the lense. If you like you can glue it in place with a few dots of RTV sealant.
Addendum February 26, 2012:
Now we have a video showing installation of these parts,
compliments of Mark Fletcher in Portland, Oregon, USA:
https://youtu.be/PS0D2LNMr0M
|