|
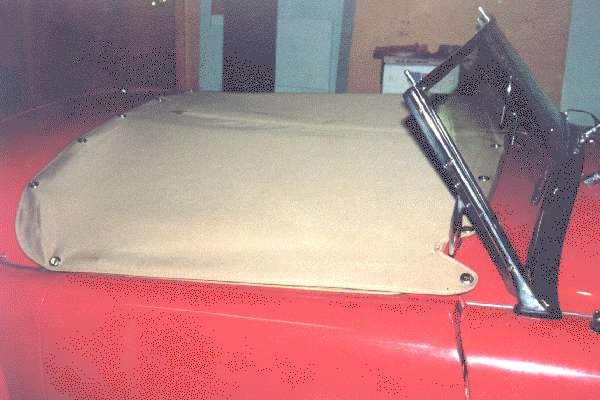
The short version of the tonneau cover would mount directly to the rear cockpit trim rail rather than to the steel body. That design is more rare,was generally sold as an aftermarket accessory, and uses mounting studs at the rear that have a tapered wood screw on the bottom that screws into the wood of the rear cockpit trim rail. The advantage of that style is that you don't have to drill holes in the painted body to install the kit.
There is a third style of tonneau cover that is much longer. It uses the same hooks and studs at the rear as the convertible top. Advantage there is that you don't have to install any new studs for the tonneau cover installation. One disadvantage is that it can trap moisture after a rain storm, and that moisture could affect the paint. Because of that problem, this extra long style of cover should always be made from some breathable fabric material, not made from vinyl.
The style of cover that you chose to install may likely be dictated by some mounting studs that already exist on your car.
This installation lesson assumes that the tonneau cover has arrived on site fully stitched and hemmed, with the center zipper installed, ready to be fitted to the car. It also assumes that at least 12 mounting studs and 2 turnbuttons are already in place. It will probably not have the LTD fasteners installed in the fabric, because some of the covers were fitted as aftermarket accessories, and the mounting studs can be in different locations. All of the required fasteners should be provided in the kit with the cover. This kit included 13 LTD fasteners and 2 turnbutton eyelets. Many covers use just 12 LTD's, but some installations have 7 LTDs at the rear with one on the centerline of the car body. That would likely be a hand fit aftermarket installation, and you would expect the studs to be in various locations such that the cover would not be interchangeable with another car.
|
