The MGA With An Attitude
MGA Guru Is GOING MOBILE - (January 1 - January 15, 2025)
Wednesday - January 1, 2025:
Happy New Year holiday, another generally boring day off. Good time to review some pictures of a nicely restored MGA 1500 someone who is considering buying it.
Thursday - January 2, 2025:
Couple of guys at Tech Central playing with Tina's choke cable, dash panel, tachometer, and HIF carburetors. Full choke is not enough to get it started, but a little sniff of ether will. The carburetors are definitely not equal. A slight lift of the rear air piston will immediately kill the engine. Seems like it's trying to run way too lean. We pulled the carbs off again to flip them over, remove bottom of the rear carb to verify that the main fuel jet was not clogged, and reset the float levels and jet heights. Set the main jets flush with top of jet bearings, just below the bridge.
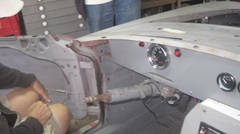
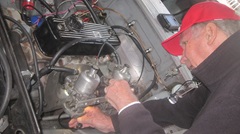
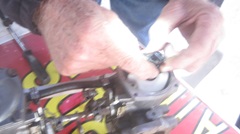
Put it back together, much the same. Wants a small sniff of ether to get started, and still seems to be running lean. I adjusted the mixture screws a couple turns richer, dropping the jets 1/16-inch lower, and the idle speed picked up a lot (must be going the right direction). Then backed off all of the idle screws, but still couldn't get it down to slow idle. Thinking there must be a vacuum leak somewhere. Sure enough, found an open vacuum port on top of the intake manifold (late model distributor vacuum source perhaps). Put one finger on top to close the port when running, and the idle speed slowed down a lot. Need to put a vacuum cap on that port before adjusting mixture and idle speed again. About that time someone noticing low oil pressure, so shut it off to check and top up oil level. Notice smoke coming from air injection ports near the spark plugs. Shucks. Take the 7/16" set screw plugs from the old head to install in the new head.
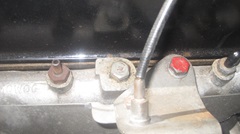
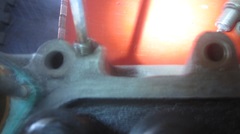
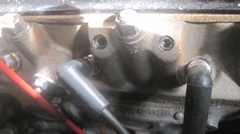
I'm not an HIF carb expert, but still thinking the fuel level must be too low. Removed the dashpot covers and air pistons with metering needles, and dropped a long thin pick down the jets. the pick dropped in at least 1/2 inch, likely more likely 5/8", and did not pickup a single drop of fuel from either jet. That still strikes me as fuel level being way too low. I'm used to H and HS type carbs having fuel level just 1/8" to 1/4" below top of jets. Now I don't know if this is normal for HIF carbs or not. Maybe we will take it up again tomorrow.
Friday - January 3, 2025:
The gang is all here by 10-am on a Friday, at least a dozen people with at least some curiosity, determined to get Tina to run properly. After a review of yesterday's efforts and results, the engine would start and run at fast idle with both carburetors adjusted full rich, and very little air flow through the carb throats. You could nearly cover the air intakes, and it would still run. All signs point to some significant air leak somewhere between the carburetors and the cylinder head, just not obvious where. So the carburetors were coming off again. Missing paper gaskets between the carbs and thermal spacer blocks, but looked like smooth flat surfaces, not likely to leak any significant amount of air there. Digging deeper, yes there were paper gaskets both sides of the heat shield, so keep digging, remove the intake manifold. Manifold gasket also looked okay, but not sure the mating surfaces were entirely flat, considering the adjacent header flanges. Covering all bases, a touch of RTV sealant was applied to the downstream face of he intake manifold before reassembly. All proper washers in place, one of the manifold studs had a slightly buggered thread making the hex nut bind. A new hex nut was installed and run down the stud a few times to clear the threads, until the nut could spin on with fingers.
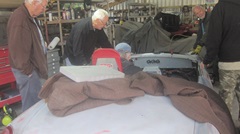
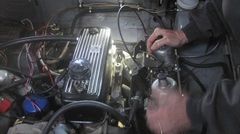
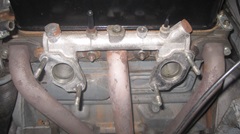
All studs tight, heat shield back in place, new paper gaskets on the thermal spacer blocks, carbs reinstalled and mounting nuts tight.
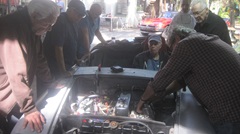
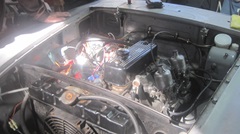 Moment of truth at hand, at least seven guys in that picture (not including me). Miracles may still happen, as it started okay and tuned out to correct mixture and smooth idle. Pretty sure no one knew where the vacuum leak was, but it surely must have been banished.
Meanwhile on the side there were a few guys fiddling with a Weber downdraft carburetor on a rubber bumper MGB. Running rich at very slow idle, common issues with this set-up. These carbs often seem to be mounted wrong way around making it difficult for access to the fiddly screws. Eventually they found the idle speed screw, the fast idle screw, the fuel mixture screw, and managed to get them all in harmony so it ran well enough to drive home, just in time for lunch.
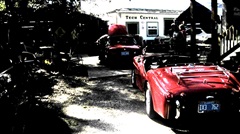
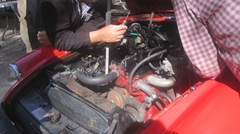
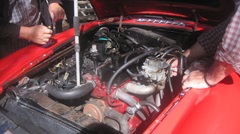
The chilly morning turned into a warm sunny afternoon, and most of the gang cleared out soon after lunch. A couple of late comers sat to chat for a while before the party broke up in mid afternoon. Few to none intending to return tomorrow, but Jerry should be there, so we may have a chance to work on the MGA tomorrow.
Saturday - January 4, 2025:
Jerry was beginning to clean, paint and reassemble his VW Sirocco (race car) engine after rebore. We were going to continue investigation of our clutch that tends to slip a little after a power shift. Remember we recently replaced the slave cylinder and
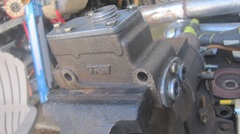 verified that the hose was not clogged, all to no avail. Today we would R&R the master cylinder and disassemble it to see if we could find any flow restriction on the clutch side. Wanting to check to assure it wasn't assembled wrong with the brake non-return check valve in the wrong bore. Given a half hour to get it out of the car, and beginning disassembly, I am immediately aware that this is a TRW master cylinder with the 50% extra strength return springs inside. It demands about 15 pounds force to compress the two springs to install the end plate or to hold it in place to R&R the screws. This would originally be more like 10-pounds total or 5-pounds per spring. The increased spring force raises residual hydraulic pressure from 8-psi to 12-psi on the brake side. That can result in dragging brake pads with front disc brakes, but it works okay for all around drum brakes. The non-return valve was installed in the brake bore, not int the clutch side, and the brakes did work okay, so that was not a problem.
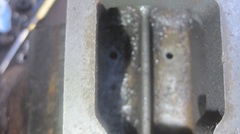
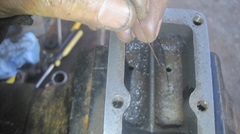
 Next thing was to check if the smaller drill holes in bottom of the reservoir might be obstructed. These are tiny holes about 1/32-inch, typically drilled through after a larger drill point depression. The picture here shows me clearing these holes with a piece of MIG welding wire that is 0.023-0,024-inch diameter. Indeed it looked like these small holes were clogged, which may have the same affect as primary cup seals not clearing the small hole when the piston is fully retracted. That could prevent full return of the clutch fluid to cause clutch slip, especially if there was also some thermal expansion of the hydraulic fluid. in the brake side this could also cause dragging of the brakes. That may be a later discussion, but for now the small holes are clear, and the master cylinder body is thoroughly cleaned before reassembly. Next thing was to check if the smaller drill holes in bottom of the reservoir might be obstructed. These are tiny holes about 1/32-inch, typically drilled through after a larger drill point depression. The picture here shows me clearing these holes with a piece of MIG welding wire that is 0.023-0,024-inch diameter. Indeed it looked like these small holes were clogged, which may have the same affect as primary cup seals not clearing the small hole when the piston is fully retracted. That could prevent full return of the clutch fluid to cause clutch slip, especially if there was also some thermal expansion of the hydraulic fluid. in the brake side this could also cause dragging of the brakes. That may be a later discussion, but for now the small holes are clear, and the master cylinder body is thoroughly cleaned before reassembly.
 In years past, maybe more than 15 years ago, there were some master cylinder rebuild kits with the primary pressure cup being a bit too long, so it did not clear the small drill holes when the piston was returned to rest. This might also result if the rubber cups would swell too much from absorption of incompatible brake fluid. This is sometimes (unjustifiably) blamed on use of DOT5 silicone fluid, but more likely resulting from a change of fluid type without changing the rubber seals. If you want to change fluid type, be well advised to disassemble and clean the entire hydraulic system, and change all rubber parts that come in contact with the fluid, including hoses. In years past, maybe more than 15 years ago, there were some master cylinder rebuild kits with the primary pressure cup being a bit too long, so it did not clear the small drill holes when the piston was returned to rest. This might also result if the rubber cups would swell too much from absorption of incompatible brake fluid. This is sometimes (unjustifiably) blamed on use of DOT5 silicone fluid, but more likely resulting from a change of fluid type without changing the rubber seals. If you want to change fluid type, be well advised to disassemble and clean the entire hydraulic system, and change all rubber parts that come in contact with the fluid, including hoses.
 The next move is interesting, mostly because I have never done it before (but I will now). To assure that the primary cup seals will indeed clear the small drill holes with pistons returned to rest, you can install an extra paper gasket for the end plate, and enlarge the bigger holes in the gaskets to clear the OD of the pistons. This will allow the pistons to return all the way to the end plate, now about 0.030-inch farther, beyond the end of the machined housing. This also gives that much additional pretravel of the piston before the primary seal cup will pass and close the small drill hole. The next move is interesting, mostly because I have never done it before (but I will now). To assure that the primary cup seals will indeed clear the small drill holes with pistons returned to rest, you can install an extra paper gasket for the end plate, and enlarge the bigger holes in the gaskets to clear the OD of the pistons. This will allow the pistons to return all the way to the end plate, now about 0.030-inch farther, beyond the end of the machined housing. This also gives that much additional pretravel of the piston before the primary seal cup will pass and close the small drill hole.
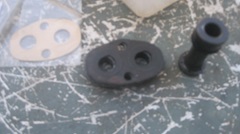
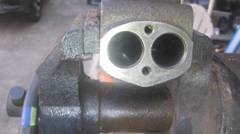
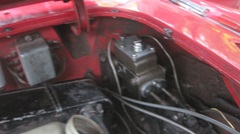
Having done all that, we have the master cylinder cleaned, reassembled, bench bled, back in the car, with both brakes and clutch bled. Now we need to drive it for a while to see if the clutch will engage properly without slipping after power shift (and maybe allow the car to do a tire burn out in low gear? Will let you know later. At least on first drive we do confirm that the brakes work perfectly well.
Sunday - January 5, 2025:
People are busy., so take a day off.
Monday - January 6, 2025:
A little more work on Tina today. Remember the air injection ports we so diligently plugged with set screws? Well they had top come back out long enough to pull out the "emulsion tubs" hiding underneath, because the tubes protrude into the exhaust ports enough to cause hot spots that might bother exhaust valves and pistons in a race car.
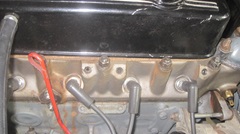
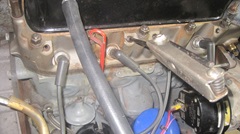
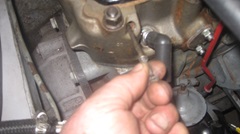
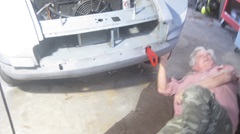
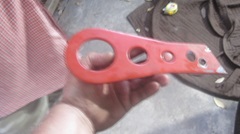
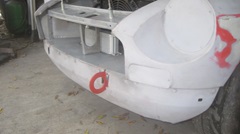
Another small chore, installing a mandatory tow hook. First pass left it sticking out far enough to tear off your shin if you walked by too close. So cut the tail off, drill another bolt hole and reinstall it with only a few inches protruding, much better.
Tuesday-Wednesday - January 7-8, 2025:
Cool with light rain. 45dF overnight, 50-60dF daytime. Floridians watching severe weather forecasts think this is crappy cold mid winter weather. Us yanks from Illinois figure it's just downright balmy. Take a couple days off.
Thursday - January 9, 2025:
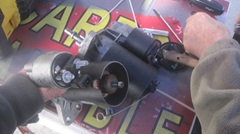
Miscellaneous clean-up day at Tech Central. Check, test, tinker two VW starter motors, both no-go, junk, good for core exchange only. The racing Scirocco engine still needs reassembly.
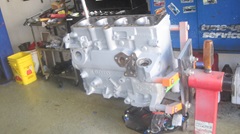
Clear off and clean up the small work bench. Need to do this at least once a month. Takes Jerry about two weeks to get it cluttered and overloaded again. Organizing tools, shelves, wheel roller dollies, and getting stuff off the floor.
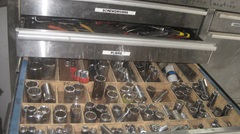
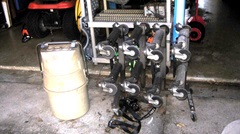
Friday - January 10, 2025:
Must be still a bit cool this morning as it took an extra hour to collect our full compliment of curious tinkerers. The nice TR3 is a regular, just not seen for a while. The guys thought it was a good idea to flush Tina's cooling system, so off with the lower hose, in with the garden hols, flush the block backward, then flush the radiator backward until everything flows clear. Install the thread adapter for the electric temperature gauge transducer, and verify that the gauge works.

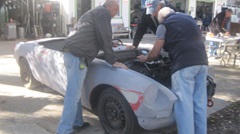
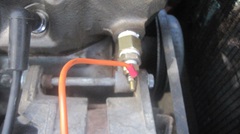
Reconnect the lower hose, top up with water and apply the cooling system pressure tester. Notice puddle on the lower tank, and maybe a small leak at right side of the head gasket,. Grab the air hose and blow everything off dry, before jumping to conclusions. Good luck here as it holds pressure nicely, and no more wet spots.
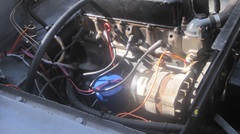
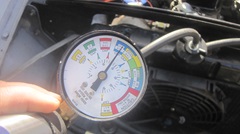
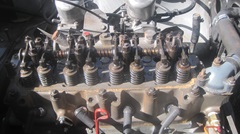
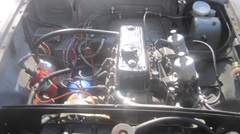
Re-torque cylinder head and adjust valves before running to full temperature. Good thing we did, as the head bolts were mostly a full turn loose and way too much rocker arm clearance. Rocker arms somewhat wobbly, the bushings may be okay but the rocker shaft is probably badly worn and needs to be replaced. All adjusted, fire it up and run to warm, still water tight. Small oil leaks at threads for oil pressure transducer. R&R the parts to apply Teflon tape for thread sealer while we re-torque the head bolts one last time. End result is water tight, oil tight, good running temperature, but suspect slightly low oil pressure with hot oil. Lay plans to R&R the sump to check condition of the oil pump and crankshaft bearings. Kind of surprised that no one has done it yet.
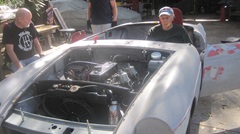
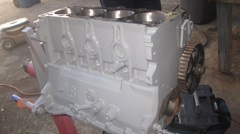
Time for lunch and social break, couple more drop-in visitors. Jerry was tinkering with the Scirocco engine, painting and installing the timing belt sprocket for the half-speed shaft, not needing any help for that. Plenty of friendly chat before everyone else wandered off.
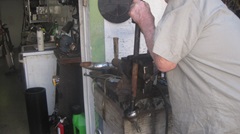
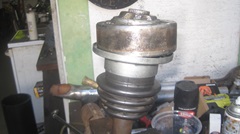
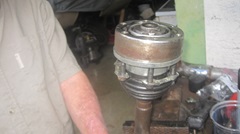
During last competition outing, the Scirocco had a fuel system leak causing a fire under the bonnet on right side of engine bay. That burned the wiring harness and rubber boots on right side drive shaft and steering rack. So now we were disassembling the halfshaft to replace the two rubber boots. Bit of a tricky chore, but we did get it done. Seems like we are planning to reassemble the engine tomorrow. Will see how far we get with that, and one steering rack boot and reworking the wiring harness. This is interesting stuff when I get to be the tech student and greezy hands helper. No, I'm not going to buy a VW.
Saturday - January 11, 2025:
Thought we ere going to put the racing Scirocco engine together today, but something else was at the front of to-do line. The old air compressor had been running may years with very little maintenance, but had recently been slipping the drive belt. Limited access inside the enclosure cabinet, so the sides came off for access to slide the motor to tighten the belt. Also cut the slightly rotted bottom edge off of the side closure panel before screwing it back in place. Job well done, may not need to touch it for another ten years.
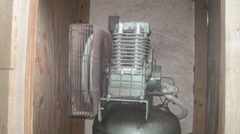
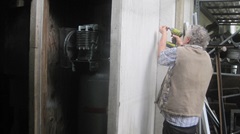
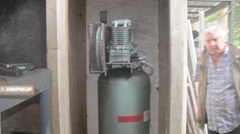
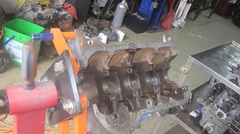
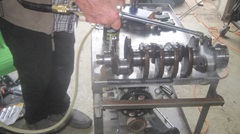
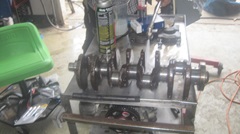
Did a little work on the Scirocco engine., cleaning the crankshaft. By day's end the main bearings , thrust washers, bearing shells and caps were installed to carry the crank in the block, and the oil filter mount installed, but not much else.
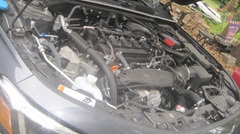
There was another diversion when Jerry's grandson showed up to do an oil change in his one year old Honda Civic. The oil had been changed a few times by a "professional" oil change shop, the only shop who had ever touched it. So naturally most of the fasteners to secure the aerodynamic belly pan were missing, and the air panel already had a non-factory cut and a bent over edge in a slot near the center of the pan. It took a while to rustle up few screws to reattach the air pan. Then tell the grandson to take the car back to the oil change shop to have them "finish the last oil change" and put all the correct fasteners back in the air pan. Damn, a one year old car already screwed up by the pro shop, just doing oil changes.
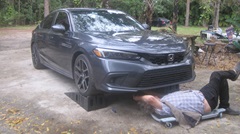
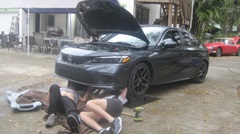
Then it was lunch time, and some casual chat, and the work time allowance was used up, so we were finished before sun down. The Scirocco engine has to wait for Monday.
Monday - January 13, 2025:

Thought the Scirocco engine might get some attention, but too many distractions. We did get a look at some Bosch VW alternators in late afternoon. There was one known to work but with broken front housing, and one that did not work but with a good front housing. We pulled the front housings from both to swap one over, but discovered different pilot sizes that would not mate. Bummer. There was a third one with the correct front housing, but was not tested yet, so we didn't want to disassemble that one until it could be tested,so that was the end of the efforts for the day.
Tuesday-Wednesday - January 14-15, 2025:
Two days of computer hell. The short of it is, trying to do a data backup for the Chicagoland MG Club web site, which hadn't been done since transition to my new computer last April, and it didn't go well. The "new" website committee has been working on an update of the website for more than five years. They have created a dozen new pages up front to change the appearance. Functional upgrades should include:
-- New home page, which is rather gaudy and half as functional as the old one.
-- New page for club history, now a one page essay, which has displaced more than40 years of club newsletters on-line.
-- On-line membership registration and interactive data base, which mostly works, except,
-- On-line payments, which does not work (so I cannot renew my membership).
-- Interactive events calendar, which is severely lacking and has killed lots of old pages that did work.
-- New page for the club's Swap Meet, very rudimentary, largely dysfunctional, and kills lots of old pages that did work well.
-- New page for the club tool lending program, which has deleted much of the prior good information.
-- New page for the club lending library, which has deleted much of the prior good information.
-- Much of the prior site (including all tech tips information) is buried so deep that most visitors will never find it again.
<Bitchmode>
At the rate they're going, it may be another five years before they can restore most of the original functionality (if ever). My problem doing a data backup is that they have rearranged the directory structure and menu structure, so much of the prior site is effectively relocated where it can't be found. I can make the data backup for the existing web site, which is largely dysfunctional, but for sure the prior site that did work well will never be seen again. Also, the data quantity is now multiple times more than previously, because the WordPress program they use for WYSIWYG editing puts tons of garbage in the HTML code used to display the pages. This also makes the pages much slower for downloading. They were supposedly concerned about preserving search ranking results, which by now have been absolutely decimated, mostly because the directory structure was changed, giving most pages a new web address, abandoning the prior visitation data.
</bitchmode>
Okay, I think I got the backup finished, getting back to normal, we hope.
|