MGA Differential Swap
June 3, 2001
Page 2 of 3
Click for BIGGER pictures, average 45K.
 |
 |
 |
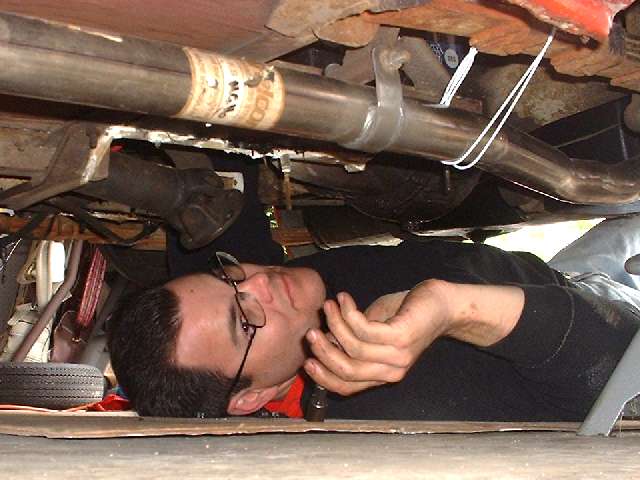
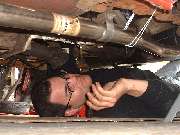
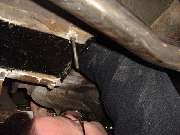
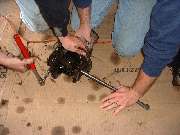
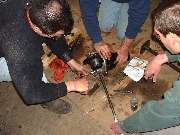
Now Steve gets busy under the car, maybe wishing he had set the stands a little higher. Nice Falcon stainless steel exhaust system, but apparently the center hanger needs a little work. In spite of the limited space this job goes fairly quick, just four bolts to disconnect the propshaft, and ten nuts to remove from the front of the axle housing. Then with a good thump on the side the differential housing nearly falls out. This is where you can get a face full of gear lube if you forgot to drain it.
|
 |
 |
 |
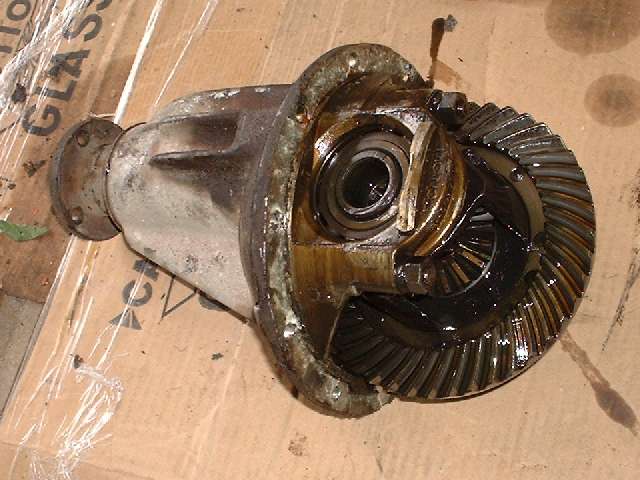
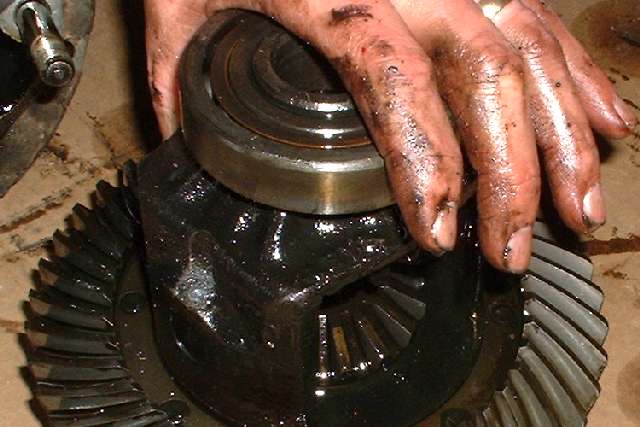
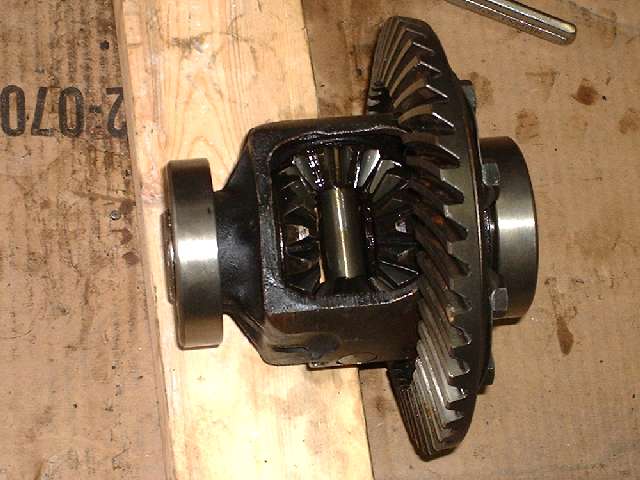
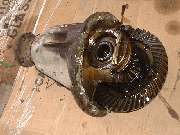
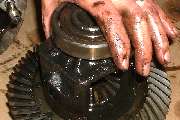
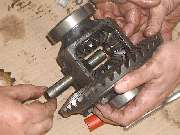
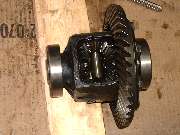
The MGB donor pumpkin appears to be in good condition, all cleaned and painted and ready to go. But first we have to change the sun gears in the differential, as they have a different number of splines to engage the half shafts. To gain access to a cross pin which is retaining the pinion axle (planet gear shaft) it is necessary to remove the differential and ring gear assembly from the carrier. Easy job with just two nuts on each side holding the bearing caps in place (but don't mix up the bearing caps). We have to disassemble the original differential to retrieve the coarse splined sun gears. Then also disassemble the donor differential to remove the fine spline gears and install the coarse splined ones. Getting the ring gear and differential assembly out of the carrier is the easy part. As long as you don't pull the large ball bearings off of the assembly you won't be disturbing the bearing alignment shims, so you can just bolt it back together later without any special realignment required.
|
 |
 |
 |
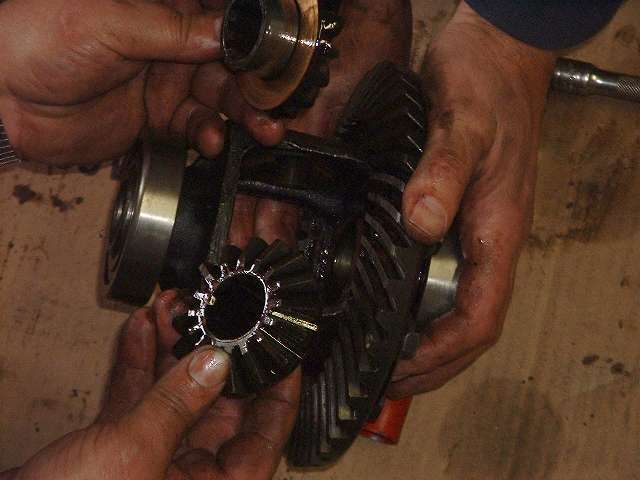
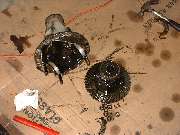
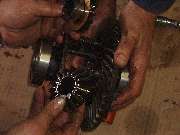
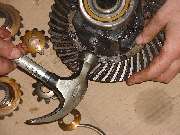
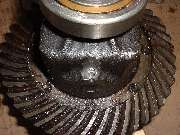
The cross pin holding the planet shaft is held in place by having the top of the hole in the carrier peened over on the edges. To remove the cross pin you first have to remove the burrs from the top of the hole. A sharp drill bit in an electric hand drill will generally make short work of that little chore. Then you use a long small diameter punch to tap the cross pin out from the opposite side, and the planet gear shaft is easily removed. The sun gears have a cylindrical shoulder to locate them in the carrier. The planet gears are spherical on the back where they nest into the carrier. Once the planet gear shaft is removed you can rotate the planet gears around to remove them through the open sides of the carrier. Notice that the sun gears are backed up with flat bronze thrust washers, and the planet gears are backed up with spherical bronze thrust washers.
|
 |
 |
 |
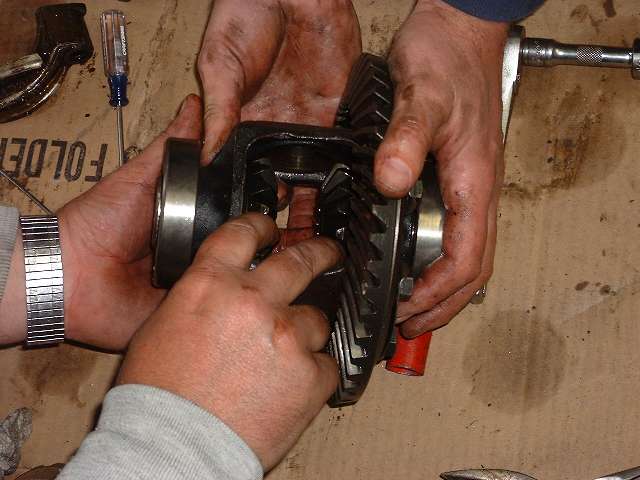
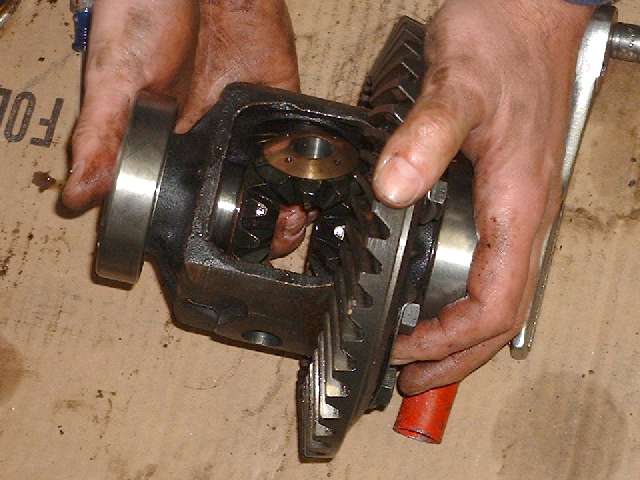
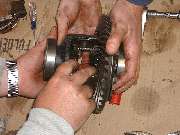
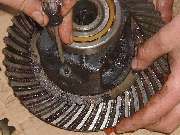
When assembling the differential place the sun gears (with the flat thrust washers) into the carrier first. Then place both of the planet gears (with their spherical thrust washers) into the assembly at the same time and rotate them into position in the carrier. The sun gears must be exactly opposite each other in order to align with the mounting holes in the carrier. With all of the differential gears in place you can insert the planet gear shaft, being careful to keep the spherical thrust washers in place. Turn the shaft to align the cross drilled hole at the end, and push or tap it into place in the carrier.
|
 |
 |
 |
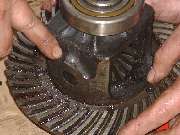
Insert the cross pin to hold the planet gear shaft, being sure to seat the pin fully down against the shoulder in the housing, and once again peen the edge of the hole to hold the cross pin in place. In this case we had opened the hole a bit much at the top end while removing the original burrs, so rather than peening over the top edge of the hole we used a large center punch to peen the side of the housing to close the hole in on one side to retain the cross pin.
|
 |
 |
 |
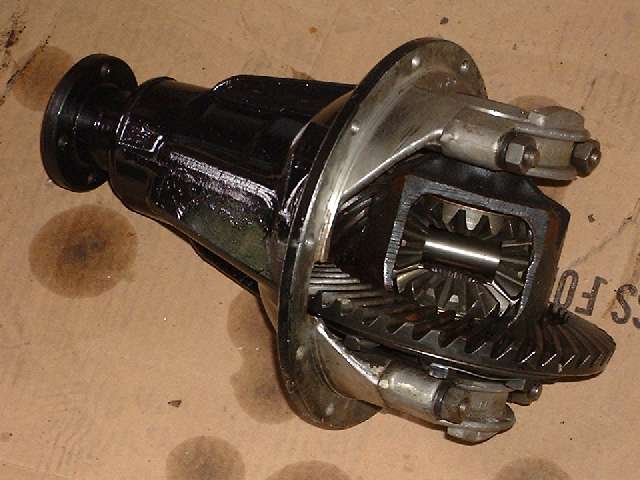
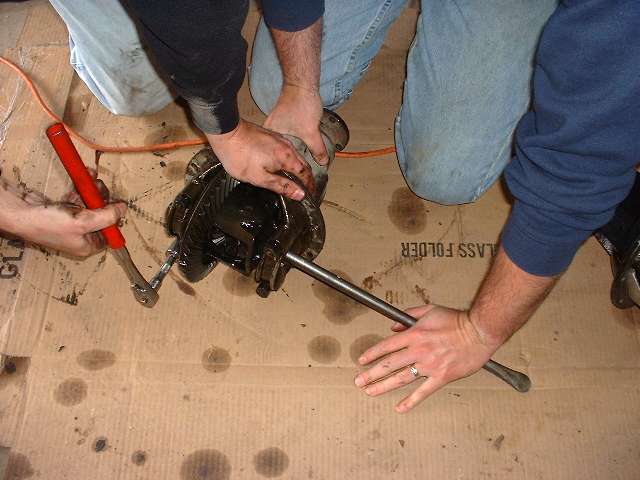
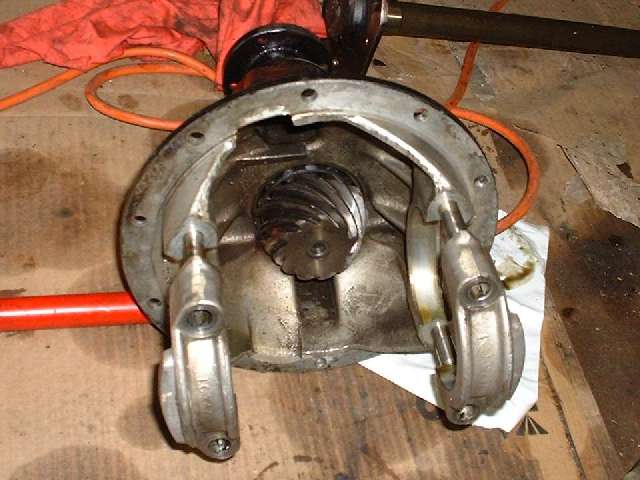
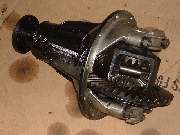
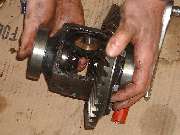
Here you see the differential carrier and ring gear assembly all ready to go back in, and the differential housing ready to accept it. This is easy going, just place the carrier bearings in the cradles, add the bearing caps (back in their original locations) and tighten the four nuts. Here you use thin hardened steel washers to protect the aluminum bearing caps, followed by lock washers and the hex nuts. Watch the torque specs here, as you could pull the studs out of the aluminum housing with too much torque. Notice the short handled ratchet wrench this time.
|
Page 1 Page 2 Page 3
|

©2001 Chicagoland MG Club, All rights reserved.
|