The MGA With An Attitude
DOOR SKIN Fitting For MGA Coupe - CP-201
Photos and notes compliments of David Adams
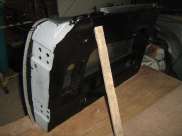
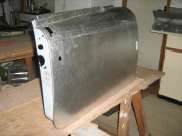
This Coupe door skin is from Metal Mickey. I will paint the inside of the skin crimp and start with location of the top edge to the door frame and work on from there. I have been advised that I should clamp the door frame securely to prevent distortion during fitting and crimping of the skin.
Fitting a new door skin to an MGA Coupe
1. Repair frame, check that door handle fits the penetration and make the hole for the door lock
2. Paint the contact surfaces of the frame and skin to minimize corrosion
3. Attach closed cell neoprene strips to frame stiffeners, I used 4mm thick by 40mm wide
4. Offer up skin to frame
5. Fit door handle so as to ensure that it clears the door frame
6. Check fit of fold-overs to frame flanges
7. Start fitting skin at its top edge, ensure that the fold at the top of the door fits in to the frame
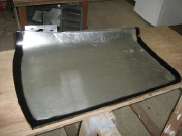
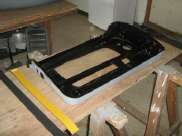
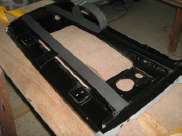
8. Clamp at top rear corner
9. Clamp at top front corner into window winder recess, ensure that top flange of skin aligns with door frame
10. Gently squeeze top of skin to top of door with clamp to bottom of door
11. Fold over the tab at the top front of the door
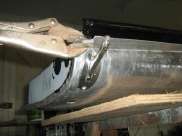
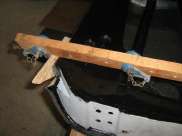
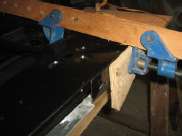
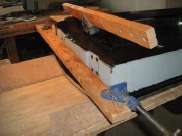
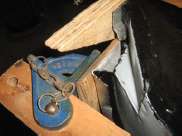
12. Gently squeeze skin to the frame at the top rear edge of the door and start to turn the fold-over onto the frame flange
13. Move to the front of the door, squeeze and fold, continue down to lower hinge fixing
14. Move to rear of door, squeeze and fold. Crimp with door skinning tool.
15. Stop when you get towards the radius at the bottom and measure fold-over at bottom of the door
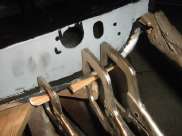
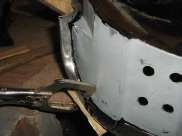
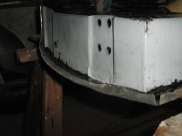
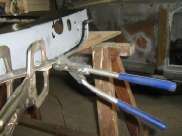
16. Horror! The door skin is too long and the fold-up (30mm) will not reach the edge of the door flange (16mm)
17. The skin fits perfectly apart from the overlap at the bottom so it will have to be cut back and re-folded to suit the door flange
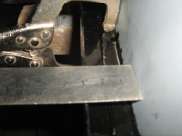
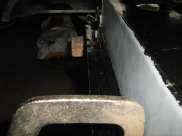
18. Straighten out the bottom fold to make the skin flat, easy on the straight but more difficult around the radius. Persevere since it is easier to do this now rather than later!
19. Measure the distance from the door frame bottom of the fold-over on the other door. 16mm at the front and 19mm at the rear.
20. Repeat this on the door being skinned, scribe this line and then cut a strip off the bottom of the skin to give a 15mm fold-over .
21. Make a wooden batten tapering from 15 to 18mm (to allow for the thickness of the skin) and clamp in situ
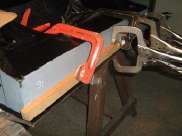
22. Working from front to rear, use 45 degree pliers (F273 from Moss) to turn a new fold-over and clamp to the door flange
23. Crimp as you go along until you get near the radius at the rear of the door
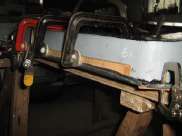
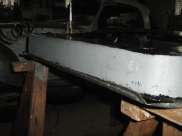
24. The radius has to blend between the crimp at the rear of the door and that at its bottom
25. Make a card template of the radius on the other door and cut the skin to this curve plus 8mm for the fold over
26. Since the crimp radius is greater than the door flange radius, make some mini battens of varying thickness and hold in place around the radius in the door frame and gradually turn a new radiused fold-over and crimp
27. Trim and crimp the square corner at the front of the door
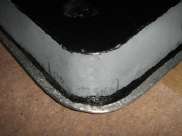
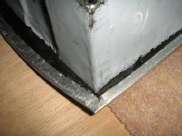
28. Be glad that you took out any oversize at the bottom of the door and not at the top where changes to the fold and curved crimps would have been very difficult, and obvious.
|