The MGA With An Attitude
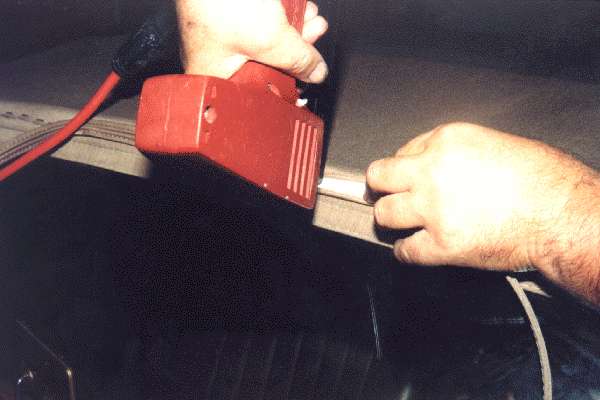
The finishing strip is fabricated like a double row of piping with the beads facing each other and a soft plastic insert underneath. You can spread the bits of piping apart to expose the inside of the strip, then staple the strip on to the top, and then push the piping back together to cover up the staples for a nice finished appearance. Start by folding the strip in half to find the center. Then starting in the center of the header rail, lay that midpoint of the strip against the front of the header rail, and position the bottom edge of the finishing strip just above the bottom edge of the header rail. In this location it should completely cover all of the existing staples and the cut edge of the top fabric. If necessary, move the strip up or down slightly to be sure all of the staples and cut edges will be covered. Starting in the center of the header rail, spread the finishing strip open, put the working nose of the stapler in the center of the finishing strip, and staple the strip to the header rail. Place staples about every 1-1/2 inches to secure the finishing strip, all the way out to both ends of the header rail. Close the finishing strip by pushing the beads back together and pressing the strip down as flat as possible. |

Installing the finishing strip